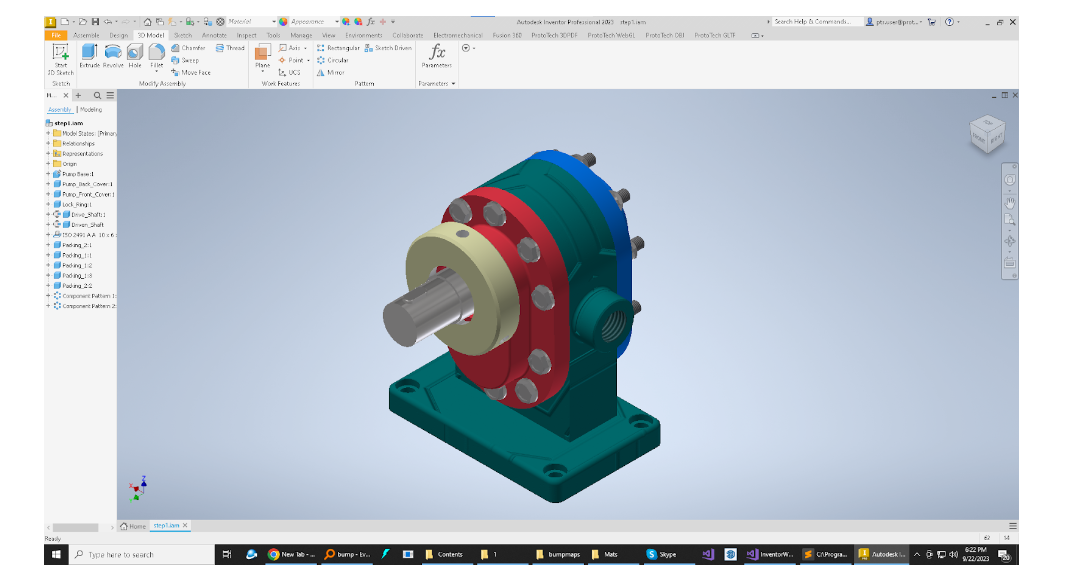
Mastering Texture Bumps in the glTF Exporter Plugin for Autodesk Inventor
Mastering Texture Bumps in the glTF Exporter Plugin for Autodesk Inventor

Introduction
Are you a 3D design enthusiast using Autodesk Inventor’s glTF Exporter Plugin? If so, you’ve likely encountered the occasional challenge when it comes to exporting textures with the right bumpiness. Bumps, or surface details, are a vital aspect of 3D rendering. They create the illusion of depth, adding realism to your models. These bumps are typically stored as textures alongside other material assets of a 3D model.
These little details can make a big difference in how realistic your model appears. But here’s the trick: you don’t want to add lots of extra details to the model itself because that would make it more complicated and slower to render. That’s where bump mapping comes in.
In this blog, we’ll explore how to master texture bumps when using the glTF Exporter Plugin for Autodesk Inventor.
- Understanding Bump Mapping:
- Before diving into the specifics, let’s clarify what bump mapping is. Bump mapping is a technique used to simulate surface irregularities on a 3D model without changing its geometry.
- Bump mapping is like an optical illusion for 3D models. It uses a special map, called a “bump map,” to fake those surface details without changing the actual shape of the object. It’s a bit like painting a texture onto a flat surface to make it look 3D.
- It adds depth and texture to a surface by altering how light interacts with it, creating the illusion of bumps and crevices.

- Texture Bumps in Autodesk Inventor:
- When working with textures in Inventor, you have the power to create intricate surface details.
- However, achieving the desired bumpiness in your textures can be challenging, as the glTF Exporter Plugin might not always interpret them as expected.
- Normal Maps for Bumpiness:
- To overcome this hurdle, consider using normal maps.
- Normal maps are a type of texture map that stores information about the surface normals of a model.
- When applied correctly, they can give the appearance of bumps and fine details on a 3D surface.
- Generating Normal Maps:
- You can create normal maps using various graphic design software or dedicated normal map generators. These tools allow you to convert grayscale or heightmaps into normal maps, which can then be applied to your textures in Inventor.
- Applying Normal Maps in Inventor:
- Once you have your normal maps ready, apply them to the relevant textures in your Inventor model. Ensure that you correctly map the normal map to the geometry to achieve the desired bumpiness effect.
- Testing and Fine-Tuning:
- Export your model to glTF format using the glTF Exporter Plugin and open it in a compatible viewer. Test the bumpiness of your textures and adjust the intensity or scaling of the normal maps as needed. This iterative process allows you to fine-tune the bump mapping effect.
- In a nutshell, bump mapping and normal maps are the tricks of the trade for 3D artists. They allow you to add incredible detail and realism to your models without bogging them down with complexity. And when you pair these techniques with the ProtoTech Solutions glTF Exporter for Inventor plugin, you’ll be able to craft 3D designs that amaze your audience. Free trial is available at link.
So, the next time you’re diving into 3D design, remember the magic of bumps and normal. They’re your ticket to 3D realism.
Conclusion
Discover the power of ProtoTech’s glTF Exporter Plugin! Elevate your 3D designs in Autodesk Inventor to new heights with ease. This innovative plugin empowers you to export glTF files, ensuring seamless compatibility with various platforms and applications. Unleash the full potential of your 3D models by effortlessly exporting them in the widely-supported glTF format, enriched with textures, materials, and animations. Say goodbye to compatibility issues and embrace a more efficient workflow. Whether you’re a seasoned professional or just starting, this plugin streamlines the process of sharing your 3D creations, making collaboration and presentation easier than ever. Explore new horizons in 3D design, and stay ahead of the curve with ProtoTech’s glTF Exporter Plugin. Unlock the full potential of your creativity today!

